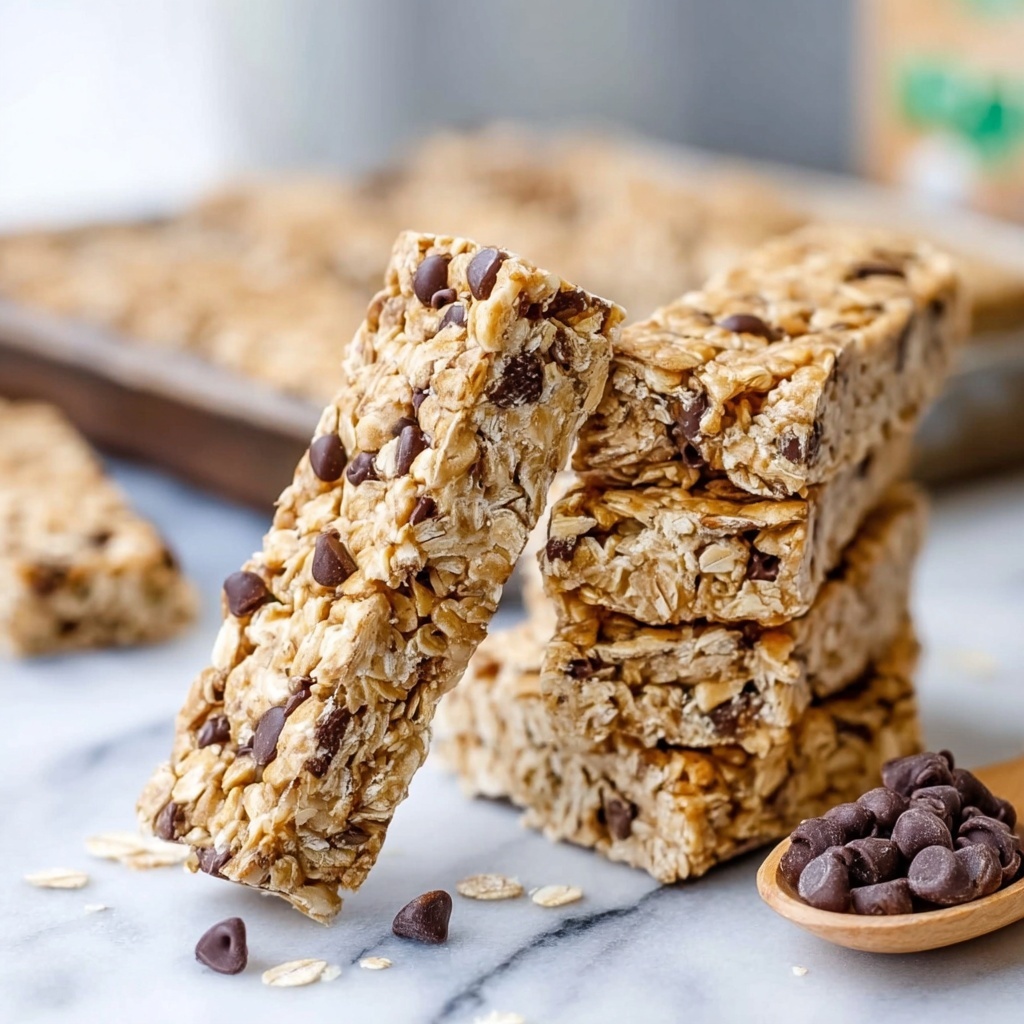
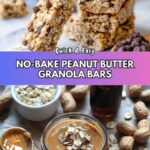
If you love a wholesome, flavorful treat that comes together in minutes without ever needing to turn on the oven, then this No-Bake Peanut Butter Granola Bars Recipe is exactly what your snack game has been waiting for. It’s a perfect blend of creamy peanut butter, crunchy nuts, and a hint of chocolate, all held together by natural sweetness and the comforting texture of oats. Whether you’re rushing out the door, packing lunchboxes, or just craving something satisfying and homemade, these bars deliver big on taste and simplicity. Trust me, once you try this recipe, it’ll become your go-to snack for every busy day.
Ingredients You’ll Need
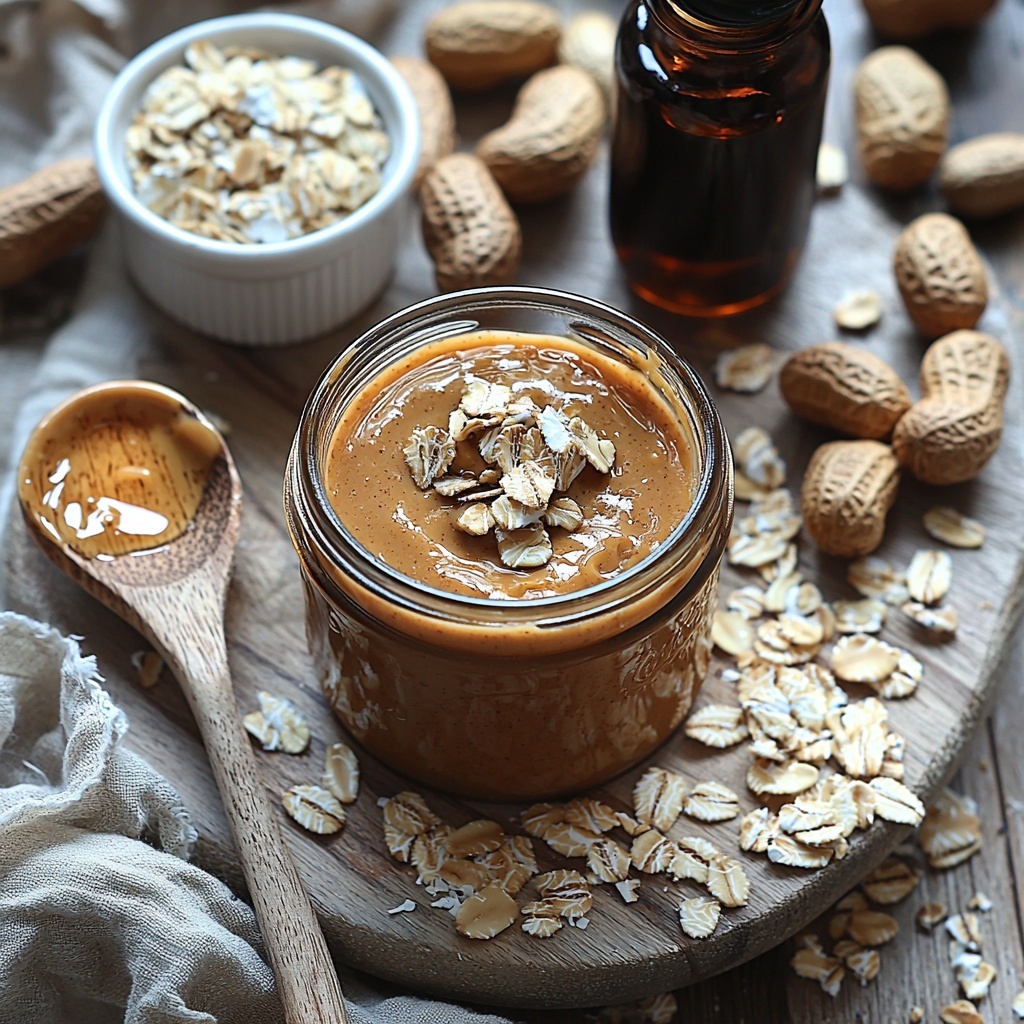
Gathering just a handful of quality ingredients makes this recipe incredibly approachable, yet each component plays a key role in creating those irresistible No-Bake Peanut Butter Granola Bars. From the natural sweetness to the texture and flavor, everything works in harmony for a snack that’s as delicious as it is easy.
- 6 Tbsp. pure maple syrup (or honey): Adds natural sweetness and helps bind everything together smoothly.
- ⅓ cup peanut butter (smooth): Provides rich creaminess and that iconic nutty flavor we all love.
- ⅓ cup coconut oil (or butter): Gives the bars a silky texture and helps everything set perfectly.
- 1 tsp. vanilla extract: Enhances the overall flavor with a warm, fragrant touch.
- 2 cups oats (old-fashioned, gluten-free if needed): The hearty base that brings bulk and wholesome texture.
- ⅔ cup peanuts (salted, finely chopped): Adds delightful crunch and a salty contrast to the sweetness.
- ⅓ cup mini chocolate chips: Brings just the right pop of chocolate fun and gooey pockets of indulgence.
How to Make No-Bake Peanut Butter Granola Bars Recipe
Step 1: Make the Base
Start by warming the pure maple syrup, smooth peanut butter, and coconut oil in a small saucepan over medium-low heat. Stir gently for about 2 to 3 minutes until everything melts together into a glossy, smooth sauce. Once combined, remove from heat and stir in the vanilla extract to infuse the mixture with its rich aroma. This step creates the luscious glue that holds your granola bars beautifully together.
Step 2: Stir in Oats and Nuts
Next, grab a large mixing bowl and add your oats and finely chopped salted peanuts. Pour the warm peanut butter sauce over them and mix everything thoroughly until each oat is perfectly coated. Let the mixture cool down to room temperature before folding in the mini chocolate chips, ensuring they don’t melt completely but still get evenly dispersed for that perfect balance of texture and flavor.
Step 3: Add to Pan
Line a 9-inch square baking dish with parchment paper to prevent sticking. Transfer your granola mixture to the dish and press it down firmly with the back of a spatula or your hands. Compressing it well helps the bars hold together after chilling. Pop the tray in the refrigerator for at least 4 hours or ideally overnight — patience here pays off with bars that slice neatly and hold their shape.
Step 4: Cut and Serve
Once chilled and set, lift the parchment from the pan and cut into bars while still in the tray for the cleanest edges. Keep any leftovers stored in the refrigerator between servings. These bars make for a grab-and-go snack that’s perfect anytime you need a little boost of energy and flavor without any fuss.
How to Serve No-Bake Peanut Butter Granola Bars Recipe
Garnishes
While the bars are delightful just as they are, a light sprinkle of flaky sea salt on top before chilling can add a sophisticated flavor pop. Alternatively, you can drizzle melted dark chocolate or add a few whole peanuts on top for extra texture and visual appeal. These small touches elevate the classic No-Bake Peanut Butter Granola Bars Recipe without any extra effort.
Side Dishes
Pairing your granola bars with a creamy yogurt or fresh fruit bowl turns a simple snack into a satisfying mini meal. A chilled glass of milk or your favorite nut milk is also a refreshing companion, balancing the richness of the peanut butter. These bars work wonderfully alongside fresh berries or apple slices for a natural contrast of sweetness and crunch.
Creative Ways to Present
Looking to impress friends or add variety? Cut the bars into bite-sized squares and serve them on a pretty platter with colorful fruit and nuts scattered around. Wrap individual bars in parchment paper tied with twine for easy gift-giving or lunchbox treats. You could even sandwich a little nut butter or jam between two bars for a delightful peanut butter granola bar sandwich twist. The No-Bake Peanut Butter Granola Bars Recipe allows for plenty of fun, creative presentation options.
Make Ahead and Storage
Storing Leftovers
These granola bars keep best when stored in an airtight container in the refrigerator. Chilling them maintains their firmness so they don’t become crumbly or sticky. They’ll stay fresh and delicious for up to a week, making them an excellent batch-make recipe for busy weeks ahead.
Freezing
If you want to keep them longer, freeze the bars by wrapping each one tightly in plastic wrap and placing them in a freezer-safe container or zip-top bag. Frozen bars thaw quickly at room temperature or can be popped straight from the freezer into your bag for a cool snack on the go. This method locks in freshness for up to three months!
Reheating
Since these granola bars contain coconut oil or butter, avoid microwaving them, which can cause separation or a greasy texture. Instead, let frozen bars thaw gradually in the fridge or at room temperature. If you crave a warm treat, enjoy the bars alongside a warm beverage rather than reheating directly to preserve their perfect consistency.
FAQs
Can I substitute peanut butter with another nut butter?
Absolutely! Almond butter, cashew butter, or sunflower seed butter all work beautifully in this No-Bake Peanut Butter Granola Bars Recipe. Just keep in mind that different nut butters vary in texture and flavor, so your bars might have a slightly different taste but remain delicious.
What if I don’t have maple syrup or honey?
You can use agave nectar or brown rice syrup as a substitute sweetener. These alternatives provide the sticky texture needed to bind the bars and a mild sweetness, though the flavor may vary slightly from the original.
Can I make these bars vegan?
Yes! Using maple syrup or agave nectar as the sweetener and coconut oil instead of butter keeps the recipe fully vegan-friendly. Just make sure any chocolate chips you use are dairy-free to maintain vegan status.
How do I make these gluten-free?
Simply use certified gluten-free oats to ensure safety for those with gluten sensitivities or celiac disease. All other ingredients in the recipe are naturally gluten-free, making this an easy swap.
Can I add other mix-ins to the granola bars?
Definitely! Dried fruit like cranberries, raisins, or chopped dried apricots make tasty additions. Seeds such as chia or sunflower seeds also work for added nutrition and texture. Just be sure to keep the overall volume similar so the bars hold together well.
Final Thoughts
If you’re searching for a snack that’s fast, tasty, and filled with wholesome ingredients, you can’t go wrong with this No-Bake Peanut Butter Granola Bars Recipe. It’s a wonderful way to keep your pantry stocked with nourishing treats that satisfy cravings and boost your energy throughout the day. Give it a try and enjoy the magic of simple ingredients coming together to make something truly special. Your future self will thank you.
Print
No-Bake Peanut Butter Granola Bars Recipe
- Prep Time: 10 minutes
- Cook Time: 5 minutes
- Total Time: 4 hours 15 minutes
- Yield: 12 servings
- Category: Snack
- Method: Stovetop
- Cuisine: American
- Diet: Gluten Free
Description
These No-Bake Peanut Butter Granola Bars are a quick and easy snack made with wholesome ingredients like oats, peanut butter, and peanuts, sweetened naturally with maple syrup. Perfect for a nutritious, grab-and-go treat with a delightful balance of sweet and salty flavors combined with a hint of chocolate.
Ingredients
Wet Ingredients
- 6 Tbsp. pure maple syrup (or honey)
- ⅓ cup peanut butter (smooth)
- ⅓ cup coconut oil (or butter)
- 1 tsp. vanilla extract
Dry Ingredients
- 2 cups oats (old-fashioned, gluten-free if needed)
- ⅔ cup peanuts (salted, finely chopped)
- ⅓ cup mini chocolate chips
Instructions
- Make the Base: In a small saucepan over medium-low heat, combine the maple syrup, peanut butter, and coconut oil. Stir continuously for 2-3 minutes until the mixture is smooth and well incorporated. Remove from heat and stir in the vanilla extract to add flavor.
- Stir in Oats and Nuts: In a large mixing bowl, combine the oats and finely chopped peanuts. Pour the warm peanut butter syrup mixture over the dry ingredients and mix well to ensure everything is evenly coated. Allow the mixture to cool to room temperature, then gently fold in the mini chocolate chips so they don’t melt.
- Add to Pan: Line a 9-inch square baking dish with parchment paper. Transfer the granola mixture into the dish and press firmly and evenly to compact the bars. Place the pan in the refrigerator and chill for at least 4 hours or overnight to set.
- Cut and Serve: Once the bars have set, remove from the refrigerator and cut them into desired bar sizes directly in the dish for cleaner cuts. Store any leftover bars in the refrigerator for freshness and enjoy as a healthy snack.
Notes
- For a vegan version, use maple syrup instead of honey and coconut oil instead of butter.
- You can substitute peanuts with other nuts or seeds if desired.
- Pressing the mixture firmly helps the bars hold together well.
- Refrigeration is crucial to allow the bars to set properly before cutting.
- Use parchment paper for easy removal and cleanup.