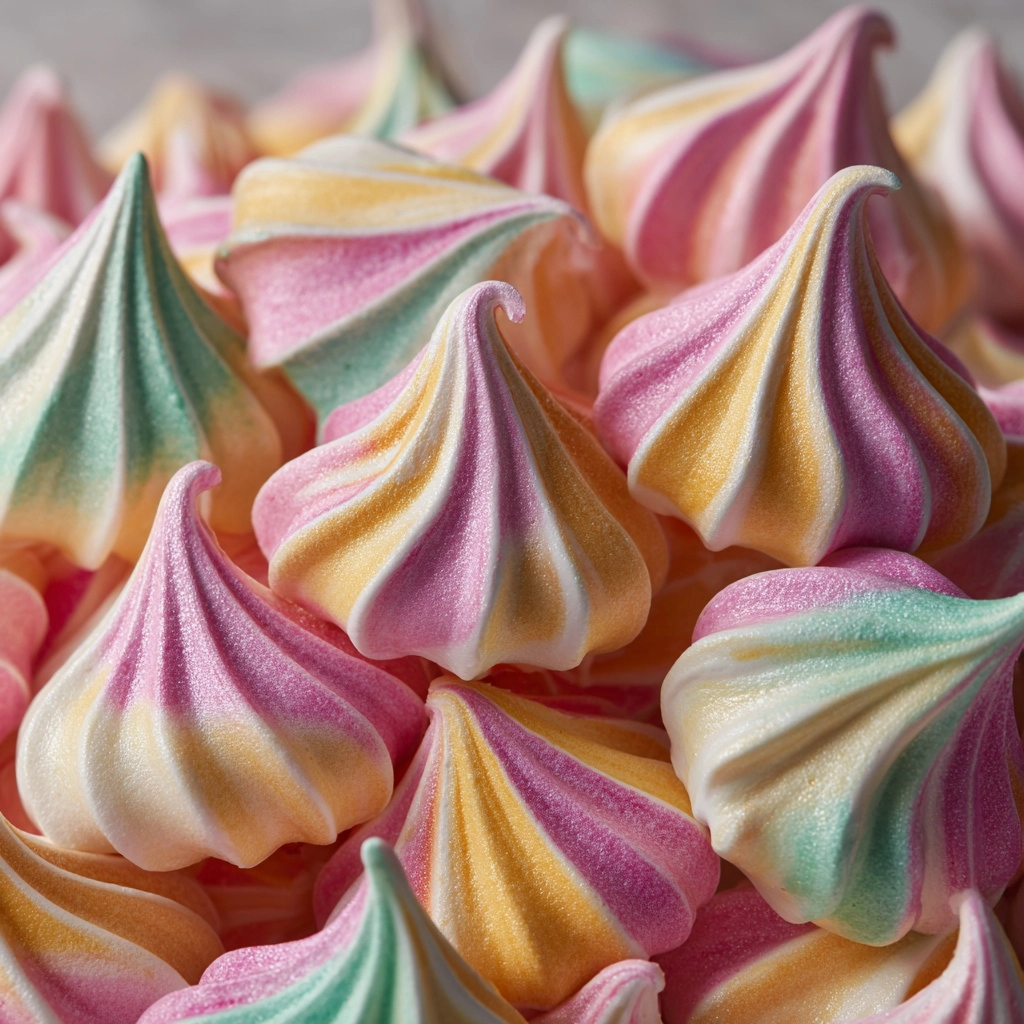
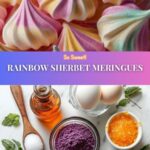
If you’re looking for a delightful and colorful treat that feels like summer in every bite, the Rainbow Sherbet Meringues Recipe is your new best friend. These light, airy meringues are swirled with vibrant sherbet-inspired hues that brighten up any dessert table and bring a burst of fun with their melt-in-your-mouth texture. Whether you’re baking for a party, a baby shower, or just craving something sweet and beautiful, this recipe blends simple ingredients with a splash of creativity to make a dessert that’s just as joyful to look at as it is to eat.
Ingredients You’ll Need
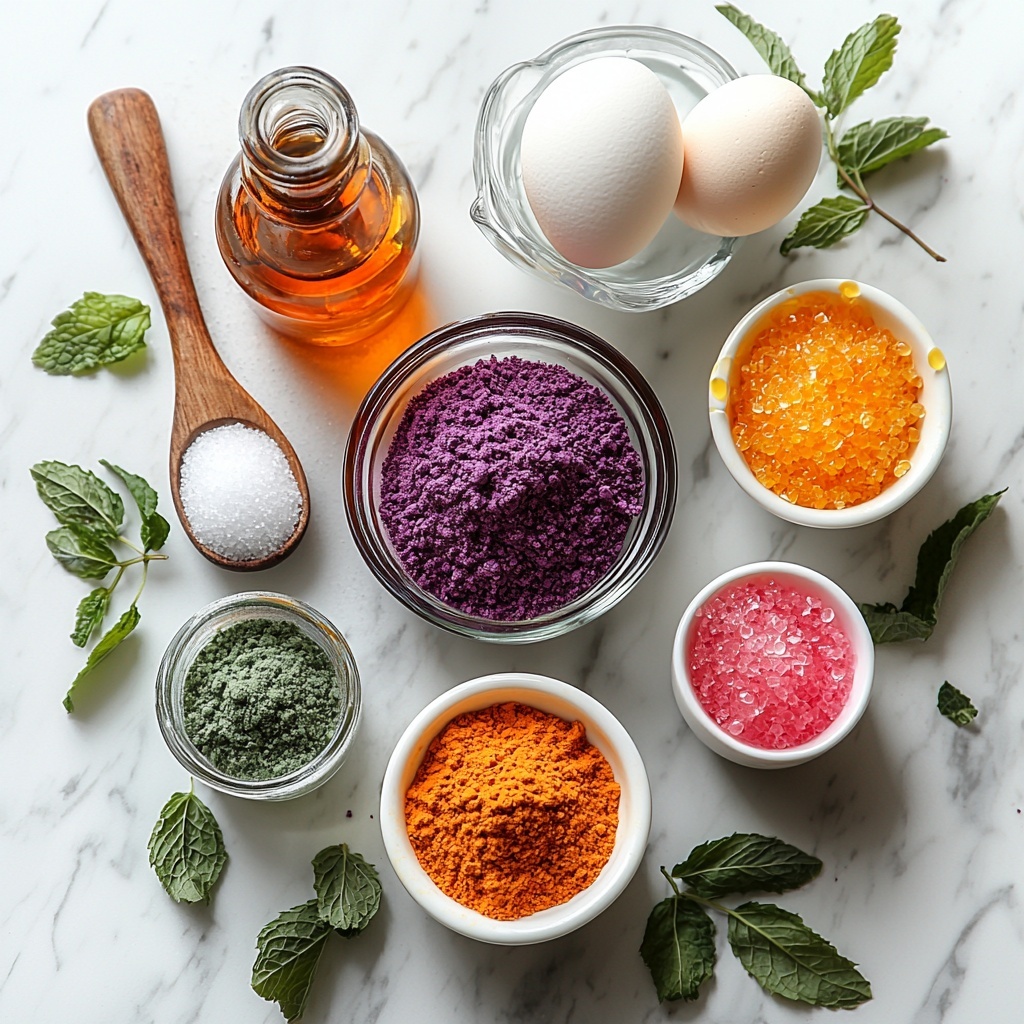
With just a handful of ingredients, this Rainbow Sherbet Meringues Recipe is wonderfully straightforward to make. Each ingredient plays a crucial role: from providing the perfect structure and sweetness to offering those stunning sherbet colors and a hint of citrus brightness.
- 4 large egg whites: At room temperature to ensure maximum volume and a fluffy texture.
- 1 cup granulated sugar: Slowly added to achieve that glossy, stiff peak consistency.
- ½ teaspoon cream of tartar: Stabilizes the egg whites so the meringues hold their shape perfectly.
- 1 teaspoon vanilla extract: Adds a warm, inviting flavor that complements the sherbet colors beautifully.
- Gel food coloring (orange, pink, green): The key to recreating the classic rainbow sherbet look without compromising texture.
- Optional ¼ teaspoon citrus zest: Lemon, lime, or orange zest adds a refreshing twist reminiscent of real sherbet.
How to Make Rainbow Sherbet Meringues Recipe
Step 1: Prepare Your Oven and Baking Sheets
Begin by preheating your oven to a low 225 degrees Fahrenheit and line two baking sheets with parchment paper. This gentle warmth is essential for slowly drying out your meringues without browning, giving you a crisp exterior and a soft interior.
Step 2: Whip the Egg Whites to the Perfect Peaks
Using a clean and dry mixing bowl, beat the egg whites on medium speed until foamy. Add the cream of tartar to stabilize and continue beating until you reach soft peaks. This step ensures your meringue will be light and airy while holding its shape during baking.
Step 3: Add Sugar Gradually for Glossy Stiff Peaks
Slowly incorporate the granulated sugar, one tablespoon at a time, while increasing to high speed. This gradual process is crucial for dissolving the sugar properly and achieving that signature glossy, stiff peak texture. Don’t rush this step—it makes all the difference!
Step 4: Flavor and Divide
Mix in the vanilla extract and optional citrus zest gently. Then, divide the meringue into three separate bowls. This allows you to tint each portion with a different gel food coloring, mimicking the classic sherbet colors. Use just a small amount of gel color to maintain the meringue’s texture without thinning the mixture.
Step 5: Pipe Your Rainbow Mounds
Using a spatula, layer stripes of each colored meringue into a piping bag fitted with a large star or round tip. Pipe 1½-inch mounds onto your prepared baking sheets, spacing them with care so they don’t stick together. The layering technique creates that beautiful rainbow swirl effect everyone will adore.
Step 6: Bake and Cool Slowly for Perfect Texture
Bake the meringues for one full hour, then turn off the oven and leave the meringues inside to cool for another hour without opening the door. This slow cooling process prevents cracking and keeps the meringues light, crispy, and beautifully textured.
How to Serve Rainbow Sherbet Meringues Recipe
Garnishes
A sprinkle of finely grated citrus zest or a dusting of edible glitter adds an extra pop of charm. Fresh mint leaves or thin slices of candied citrus complement the sherbet colors beautifully and elevate the presentation for special occasions.
Side Dishes
These meringues pair amazingly well with a scoop of vanilla ice cream or a light citrus sorbet, bringing out the sherbet inspiration even more. For a party, offer alongside fresh berries or a whipped cream dip to keep things fresh and balanced.
Creative Ways to Present
Try stacking these rainbow meringues to create a petite pavlova tower or arrange them around a colorful fruit tart for a stunning visual impact. They also work perfectly as edible decorations atop cupcakes or layered in dessert jars for a playful twist everyone will love.
Make Ahead and Storage
Storing Leftovers
Keep your leftover Rainbow Sherbet Meringues Recipe treats fresh in an airtight container at room temperature. They’ll stay crisp and delicious for up to a week when stored away from moisture.
Freezing
If you want to keep them longer, meringues freeze beautifully. Place them in a sealed container and freeze for up to two months. Thaw at room temperature to retain their texture and vibrant colors without sogginess.
Reheating
Reheating is not necessary, but if you prefer a warm treat, pop them under a low broiler for a minute or two just until warmed—watch closely to avoid browning or melting their delicate shape.
FAQs
Can I use regular food coloring instead of gel?
Gel food coloring is best for the Rainbow Sherbet Meringues Recipe because it adds vibrant color without thinning the meringue mixture, which could affect volume and texture. If you only have liquid food coloring, use it sparingly to avoid compromising your meringues.
What if my meringues turn out sticky?
Sticky meringues usually mean either underbaking or humid conditions. Make sure to follow the baking and cooling times precisely and try to bake on a dry day for best results.
Can I make these meringues without citrus zest?
Absolutely! The citrus zest is optional but adds a wonderful bright note that complements the sherbet colors. Leaving it out will still yield a delicious meringue with the classic vanilla flavor.
How do I prevent my meringues from cracking?
Slow cooling inside the turned-off oven is key. Avoid opening the oven door during the cooling period to keep temperature fluctuations minimal, which helps prevent cracks.
Are these meringues gluten-free?
Yes! The Rainbow Sherbet Meringues Recipe is naturally gluten-free, making them a fantastic dessert option for guests with gluten sensitivities.
Final Thoughts
If you want a dessert that’s fun, visually stunning, and simply delicious, you absolutely must try this Rainbow Sherbet Meringues Recipe. It’s an easy way to bring a touch of whimsy and a burst of color to your kitchen, and the light, crisp texture combined with sherbet-inspired flavors will have everyone asking for seconds. Dive in and experience the magic yourself!
Print
Rainbow Sherbet Meringues Recipe
- Prep Time: 20 minutes
- Cook Time: 1 hour
- Total Time: 2 hours
- Yield: 30 meringues
- Category: Dessert
- Method: Baking
- Cuisine: American
- Diet: Gluten Free
Description
Delightful and colorful Rainbow Sherbet Meringues made by whipping egg whites to stiff peaks, gently colored with gel food coloring, and baked to airy perfection. These light and sweet treats mimic the vibrant hues and flavors of rainbow sherbet, enhanced with optional citrus zest for a refreshing twist. Perfect for parties, baby showers, or as a charming edible gift.
Ingredients
Meringue Mixture
- 4 large egg whites, at room temperature
- 1 cup granulated sugar
- ½ teaspoon cream of tartar
- 1 teaspoon vanilla extract
- Gel food coloring in orange, pink, and green (or colors of your choice)
- Optional: ¼ teaspoon citrus zest (lemon, lime, or orange) for extra flavor
Instructions
- Preheat Oven and Prepare Baking Sheets: Preheat your oven to 225°F (107°C) and line two baking sheets with parchment paper to prevent sticking and ensure easy cleanup.
- Beat Egg Whites: In a clean and dry mixing bowl, use an electric mixer on medium speed to beat the egg whites until they become foamy, indicating the proteins are starting to unfold.
- Add Cream of Tartar and Beat to Soft Peaks: Add ½ teaspoon cream of tartar to stabilize the egg whites and continue beating until soft peaks form—when the peaks slightly hold but tips fold over.
- Gradually Add Sugar and Beat to Stiff Peaks: Slowly add the granulated sugar one tablespoon at a time while beating on high speed. Continue until the mixture is glossy, smooth, and forms stiff peaks that stand straight up without collapsing.
- Incorporate Flavorings: Beat in 1 teaspoon vanilla extract and, if using, ¼ teaspoon citrus zest for a fresh, nuanced flavor.
- Divide and Color Meringue: Separate the meringue mixture evenly into three bowls. Tint each portion with gel food coloring—orange, pink, and green or your chosen shades—stirring gently to blend colors without deflating the meringue.
- Pipe Meringues: Using a spatula, layer alternating stripes of each colored meringue into a piping bag fitted with a large star or round tip. Pipe 1½-inch mounds onto the prepared baking sheets, spacing them slightly apart to allow airflow.
- Bake: Bake the meringues for 1 hour at 225°F, allowing them to dry and crisp evenly without browning.
- Cool in Oven: Turn off the oven and leave the meringues inside to cool completely for another hour without opening the door, ensuring they dry thoroughly and maintain their crisp texture.
- Store: Once cooled, carefully remove meringues and store them in an airtight container to keep them fresh and crisp until serving.
Notes
- Use gel food coloring to prevent thinning the meringue mixture.
- Humidity can affect the texture—preferably make these on dry days for best results.
- Perfect for festive occasions like parties, baby showers, or as colorful edible gifts.
- Ensure mixing bowls and beaters are completely clean and dry to achieve proper meringue stiffness.